Search This Blog

Total Pageviews

Tuesday, October 29, 2013

Lemonies...Splenda Style

One of my Facebook friends (Dana Lucas Cipolla)  posted a delicious-looking recipe yesterday for Lemon Brownies. There were quite a few humorous responses because many folks protested that 'brownies' referred to the chocolate in them and the color as opposed to the texture. I did a little research and found out that the definition of a brownie is:
1. a member of the Girl Scouts from age 6-8
2. a small square of a rich, moist cake, usually made with chocolate and nuts
3. a small sprite, thought to do good works
4. a brown trout
5. something cool, hip, or awesome.
I'm going with #5 for these Lemonies, as I am calling them! (Some people called them 'yellowies' but that sounds like yellow snow and we know where that is going...)

I changed up the recipe a bit since we are both watching our 'sugar' intake. I know, some of you are rolling your eyes at the 'Splenda' tag but seriously...this is good stuff for some things! (I couldn't do this with our other favorite sweet, organic Blue Agave nectar...it wouldn't work)

Here's what I did...

pre-heat the oven to 350 degrees

grease a 10" round pan with butter-I sprayed Canola spray (well, you're supposed to use an 8"x8" square, but I have one packed away in the garage...somewhere)

Beat a couple of eggs together and put aside
Mix in a separate bowl 3/4 cup of flour and 1 teaspoon of salt
Zest and juice two lemons and set aside
soften 1 cube of unsalted butter (1 stick)

put the softened butter and 3/4 cup of Splenda in a mixer and blend.
Add the flour/salt mixture to the butter/ Splenda mix and blend

Add the lemon zest/lemon juice to the egg mix and blend well.

Add the lemon/zest/eggs mixture to the flour/salt/sugar/butter and blend together for at least 2 minutes, maybe more, until it is very smooth and creamy. Scrape down the sides of the blender/mixer as you go.

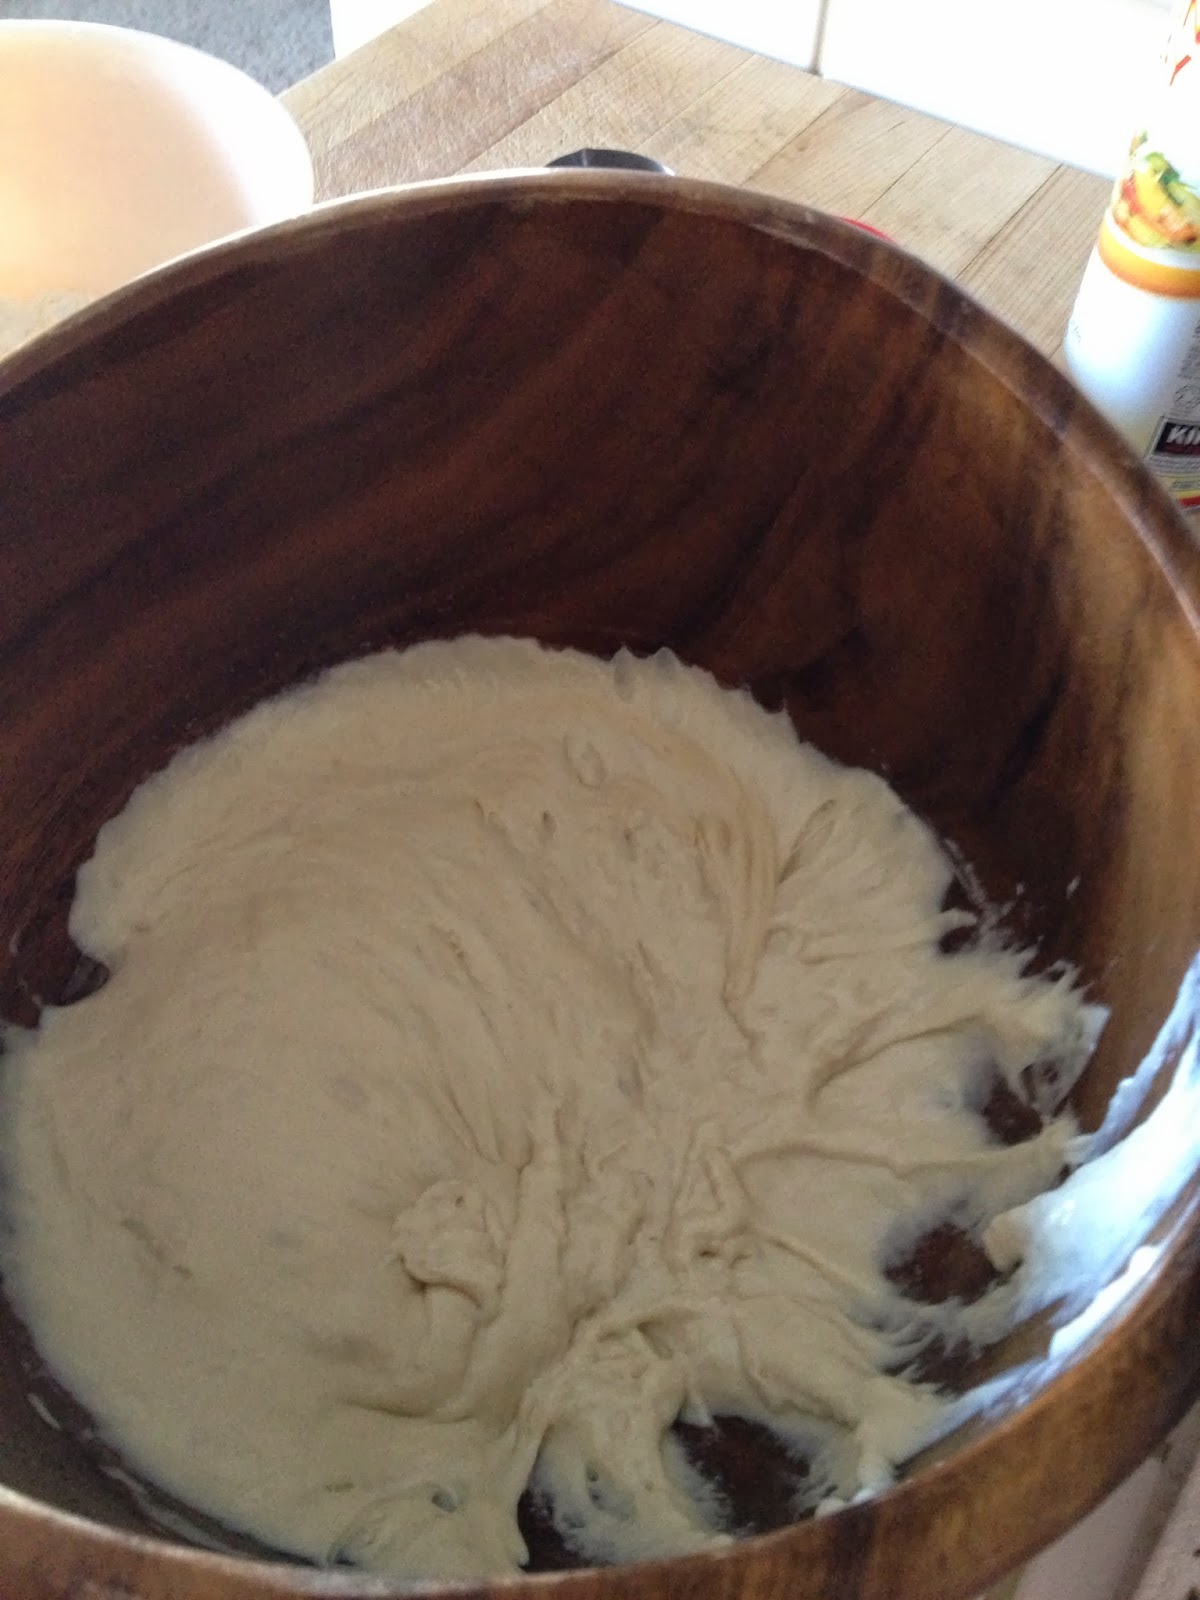
Pour the smooth mixture (use a rubber spatula scraper to get every bit of goodness!) into the greased pan.

Put the greased pan into the oven for 20 minutes. Watch it carefully- don't let it overbake. The edges should be brown. Pull it out of the oven and cool completely. I know, is smells freakin' amazing! Hold off!! Let it cool!
Ahhhh!

Then- Take one cup of Splenda and 2 tablespoons of cornstarch and add it to a food processor.


Blend the heck of it for 3 minutes.
Zest and juice two more lemons and add them to the Splenda/cornstarch mixture and blend the heck out of it.
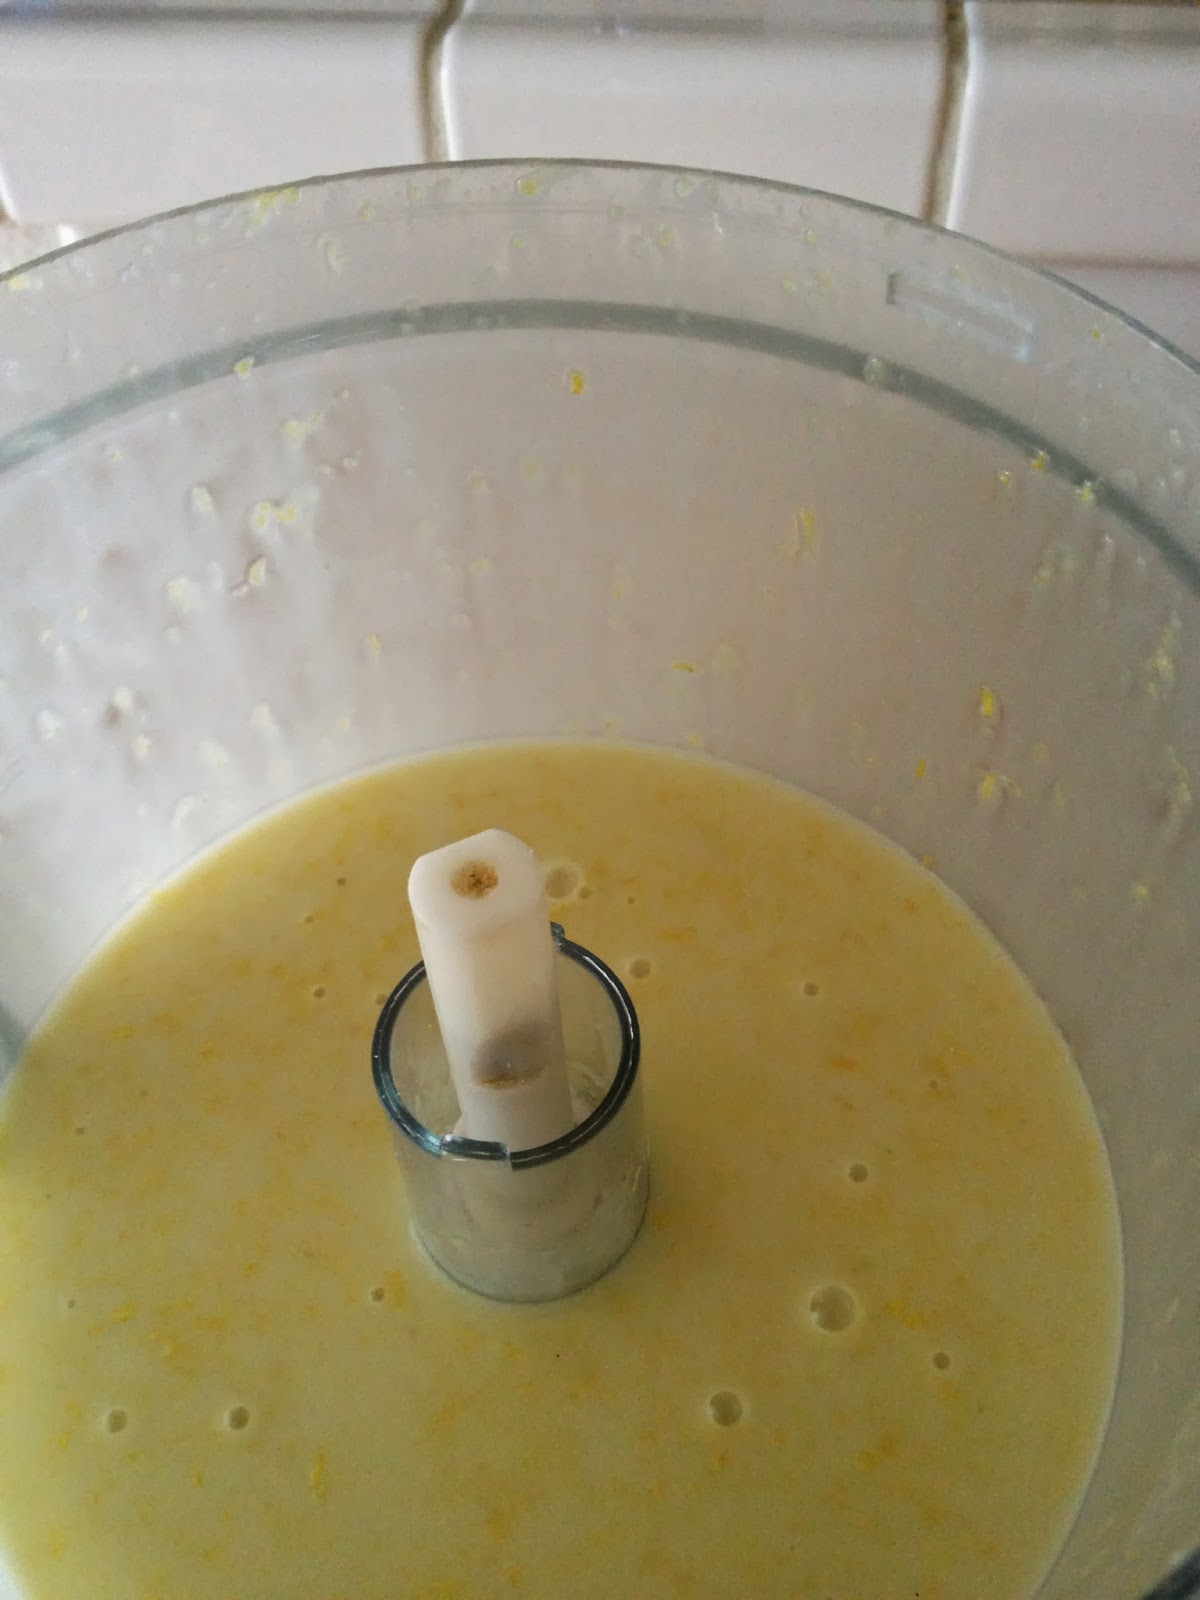
Pour it over the lemonies and let it set up.
YUM!
We ate them so fast that I forgot to take a picture of them! Just want to say if you like lemons, you will love this!!!

Tuesday, October 22, 2013

Smashed Potatoes

One of my Facebook friends posted a recipe called, " Australian Crashed Potatoes" a couple of days ago. I decided that it sounded so delicious that I needed to make these..again. Rachael Ray (Food Network) presented these after meeting with the cooking great, Jaques Pepin a few years ago and I do make this on a pretty regular basis!
Just a side note- when I was a young bride who could not cook to save her life, I took a 6 week cooking class with Jacques Pepin at Piret's in the South Coast Plaza in the early 1980s...and he helped us all to learn how to make these potatoes. All I can say is, YUM!
Here is the recipe I faithfully use to this day...
Jaques Pepin's Smashed Potatoes
I used basically the same recipe, but I added some Johnny's Garlic Spread Seasoning (thank you Costco sample lady!!This stuff is amazeballs as my sister Darlyn would say)
Delicious!

I know, my jelly roll pan is well loved but these were so delicious! MAKE THEM!!

Sunday, October 20, 2013

This will convert you into loving Brussels Sprouts!

I am feeling a little guilty about having a Trader Joe's 1/2 mile from my house. When we lived in Rancho Santa Margarita CA I went to TJs at least once a week ...if not more. Ralphs and Albertsons and Pavillions just couldn't compete!  For the seven years we lived in KFalls, I went to Trader Joe's on my way back and forth to the OC...with a cooler. If I had a road trip to Bend, I brought a cooler..and filled it with Trader Joe's products. I know, I'm spoiled.
This week I bought an unusual product that has resulted in tasty food- 'dried' Thai Chili Paste and bagged Brussels Sprouts.
We grew Brussels Sprouts in Klamath Falls for a few years- I think I posted pictures a few years ago of Brussels Sprouts stalks growing in the snow...yes, we had them for Thanksgiving a few times! I love Brussels Sprouts- Kevin, not so much. He thinks they taste like cabbage..well, yah, they sort of do but they are so much better! Sigh.
The 'dried' Thai Chili Paste is pretty good- I sprinkled it on top of some thin cut rib eye steaks last night for the BBQ and they were pretty good- very mild and not hot flavor. I also added them to the scrambled eggs this morning and it was tasty!
The Brussels Sprouts needed some more attention.
Oh, did I mention that it's shrimp night, too?
I cut the core out and halved the brussels sprouts and soaked them in salted water for an hour...and I defrosted the frozen shrimp in a little Johnny's Garlic Spread (thanks, Costco!) and white wine.
Then I found this fabulous recipe for roasted Brussels Sprouts in Sherry Cream Mushroom Sauce....holy God this was fantastic!  Kevin even said it was "OK". That is high praise, indeed!
Of course, I added my own touches...so here it is!

Core and half 1/2 lb. of fresh Brussels Sprouts
Soak the Brussels Sprouts in  a bowl of 1 tablespoon of salt with enough water to cover the Brussels Sprouts . Add 1/2 package of dried Trader Joes' mixed mushrooms and soak for an hour.

Drain well and save the liquid!
Toss the Brussels Sprouts with 2 tablespoons of oil and 1/2 tsp. of freshly ground pepper. Pour into a single layer on a roasting tray and set aside.
Drain the mushrooms and set aside for a bit. Save the liquid!
Fry up 4 strips of Turkey bacon in 1 tsp. of oil (you can use real bacon if you want) and render the fat.

Remove the strips and chop. Save the fat and add 1 chopped clove of garlic.
Add the drained mushrooms and fry for about 10 minutes, then add 1 cup of the mushroom liquid and let it boil!
When it is almost dry, add 1/4 cup of Sherry and 1/2 cup of half and half.
Continue cooking the sauce while you put the Brussels Sprouts in the oven and roast at 400 for 15 minutes until brown and crisp on the outside and tender on the inside!
Toss the cooked Brussels Sprouts with the mushroom-cream-sherry mixture and heat until boiling, then turn the heat down very low.
Add the chopped bacon, and serve.
Seriously, this will get you rave reviews! It is absolutely delicious!

Wednesday, October 16, 2013

Alton Brown's English Muffins = Amazing Kitchen Smells

This "being retired thing" is pretty cool...I can get all kinds of projects done and still take Bridget for a brisk walk every day...among other things!
We are still settling into the rental house. Slowly but surely, we are finding a place for everything. I just finished sanding, priming, painting and waxing a cool vintage dresser for the guest room. Kevin complained that it doesn't match anything else in the room, but I do love it! The color is called, "Chocolate silk" and it is very pretty!

 The guest room is the only room sort of 'done' in the house. you can see Great-Grandma's mirror on the wall; my antique dresser with cute casters; the two antique sewing tables and the antique glass lamps; my recent garage sale find of a luggage rack for guests; Great-grandma's artwork on the walls and the newly painted dresser. I think I'm going to move the dried arrangement to the new dresser- it's filled with dried blackberry lily branches and feather grass from the backyard in a beautiful golden glass vase that Eleni (Chris's fiancee) gave us for Christmas. It's very striking and the dresser needs something besides the electric blanket controller!
I have several other projects going on right now- I am chalk painting a (FREE!) REALLY crappy 90's dresser; I am sanding and refinishing some (FREE!) oak kitchen cabinets for the garage and I am picking up a (FREE!) storm door tomorrow for the front door. Our entry way is covered and it's REALLY dark- we don't have any windows on the front of the house in the main living area, so we thought a storm door would let in some much-needed light and maybe a cross-breeze in nice weather. Thanks, Craigslist!
Anyhow, I was thinking about making something different for breakfast this week. We have had the boring usual suspects that I have rotated through my breakfast repertoire since I retired; bacon and eggs, waffles, BLTs, omlets, fruit salad, eggs in a biscuit, cereal, pancakes, smoothies, french toast, chicken fried steak, biscuits and gravy, etc.
I was watching Diners, Drive -Ins and Dives and saw a place that featured homemade English muffins. That got me thinking...how hard could it be? I know I could go to the store and BUY English muffins, but now that I have the time and inclination???
Anyhow, I found a very well recommended recipe by...ALTON BROWN! Yep, my ol' faithful cooking buddy has an amazing recipe that sounded easy enough...Alton Brown's English Muffins
I read up a little more and found some tweaks to make the perfect English muffins- you know, full of nooks and crannies to get every last bit of delicious butter or hollandaise sauce? That kind of English muffin.
I found a site that recommended adding some yogurt to the 'wet' mix and some baking soda to the dry mix, and to let it 'proof' overnight in the fridge. Which I did...in my trusty wooden bowl (used for pizza dough proofing-usually)
I also didn't have any English muffin rings, but I discovered that I could use clean, greased and floured wide mouth canning rings. Well, I have a zillion of those around!
After slowly crisping the top and bottom in my skillet, I finished them in the oven...and OH MY!! They turned out heavenly!
I 'forked' them open (Kevin taught me the right way to open an English muffin when I first met him, working at the Plankhouse in Cypress during brunch- he was the chef and I was the 'hostess with the mostess') and toasted them and filled them with butter, Canadian Bacon and cheddar cheese. YUM. I can't tell you how amazingly good they were! You should try this recipe- it takes a little time, but it's well worth it in the end!
Sorry, no pictures of the finished product- we ate them too fast :) Maybe Eggs Benedict tomorrow- I also make a delicious home made hollandaise sauce...

Sunday, October 13, 2013

Fresh Vietnamese StyleSpring Rolls and Football

We woke up to very chilly rain this Sunday morning- but one look out the window at the mountains made me smile! LOTS of snow in Tahoe! It's countdown time for ski season...anyhow, I decided to make my favorite snack for lunch today while watching football...Vietnamese - style Fresh Spring Rolls.
These are vegetarian, although I love making them with cooked shrimp in them, too! 
First, I made the dip. I mix together 2 tablespoons of soy sauce, 2 tablespoons of fish sauce, 2 tablespoons of rice wine vinegar and 1/2 teaspoon of sambal olek (chili garlic paste). It's my own invention and is it ever tasty! 

Next, I prepare all the ingredients...peeled and julienne carrots and cucumber, fresh basil, chopped radish, chopped green onion, and cooked rice vermicelli noodles. I made the noodles on Tuesday, but I didn't use them all. You can store them after they are cooked in the fridge in a little water. Just rinse them with warm water to make them pliable and drain well! 
Next, get a bowl of very warm water ready, and a dinner plate next to the bowl. Open the package of rice paper wrappers-NOT won-top wrappers! These look like opaque round pieces of thin plastic! I use the size that are 9" in diameter.

Place a rice paper wrapper in the bowl of warm water and quickly rotate it all the way through the water...about 5 seconds. Don't wait until it's totally pliable or it will tear and be impossible to roll! You just want to dip it in all the way and lay it quickly on the place. Don't worry, it will get a little more pliable while on the plate absorbing the water. 


Working quickly, add the vegetables, sort of like you are making a burrito...layer the basil, noodles, carrot, cucumber, onion and radish across the bottom third of the wrapper, but leave a little room (about 1/2") on each side. 


Bring the bottom of the wrapper up and over the filling, sucking it in tightly to make a little roll. Wrap tightly once away from you, and then, tuck both sides into the wrapper.

after tucking in the sides, continue to roll the wrapper away from you, keeping it nice and tight.
The wrapper will stick to itself!
You can cut it in half if you like! It's easier to pour a teaspoon of the sauce into half at a time...
Three of these make a delicious lunch for one person!
Hope you try these- they are so good! Of course, you can add any vegetables or even cooked meat or seafood or fish as a filler- just don't over stuff it. The rice paper wrappers will tear if you make them too full!
By the way, all of these ingredients can be found at your local grocery store...no specialty stores needed!

Friday, October 11, 2013

Fall, Finally!

It's getting chilly here in Carson City. It feels like Fall. We have had a couple of very chilly nights and the trees are starting to turn colors...
Bridget and I are going for a walk every day! We get to see some great scenery and watch the colors change daily...
And even though we have some wonderfully warm days right now and to come for the next 10 days- I am loving this FALL weather! 
Fall makes me think about...stew. And...stuffed squash. And...soup. My favorite time of year also happens to feature my favorite kind of cooking! 
It's not easy having a Trader Joe's about 1 mile from the house....I keep finding great Fall food- like, Acorn Squash. 
We had stew earlier this week-and I do make an amazing stew! I use tomato paste instead of flour on the meat to offer a dark and delicious broth. Anyhow, onto the topic at hand...stuffed squash!
Last night I decided to half an acorn squash after a thorough scrubbing. I seeded it and cut the bottom and the stem. 
I steamed it in the microwave in a little water for 8 minutes. 
Then, I started to cook! 
I took 2 slices of sourdough bread and cut it into small chunks. I tossed the chunks with a little olive oil, sweet smoked paprika, garlic powder, kosher salt and pepper. I spread them out on a cookie sheet. I tossed this in the oven at 300 for about 5 minutes.

Next, I chopped 1/4 onion, 2 stalks of celery, 2 garlic cloves, 2 small jalepenos (seeded and stemmed) and 4 crimini mushrooms (cleaned and stemmed) 
I chopped into large chunks 2 sweer Italian sausage links from Trader Joe's. Yum! The veggies and sausage went into our cast iron skillet to saute until the mushrooms gave up their liquid. 

This was tossed in with the now browned seasoned sourdough and a little chicken stock was added for some moisture. 

I stuff it into the now-softened acorn squash halves and shredded some mozzarella and parmesan cheese on the top. 

You are gonna hate me, but we ate it all for dinner and I forgot to take a picture of the beautifully browned cheese-veggie-crouton stuffing! 
It was SO DELICIOUS!!! 
Sorry about that missing photo....